Part 2. Get a domain
Guide showing how to purchase a domain and transfer the name servers to Digital Ocean
Requirement: Purchase of a domain costing £1 per year.
To communicate with the node through Polkadot-JS you must set up a secure proxy for web socket connections. To do this you must purchase a domain and attribute an SSL certificate to it. Let's see how we can set up WSS on the relay node.
Purchase a domain
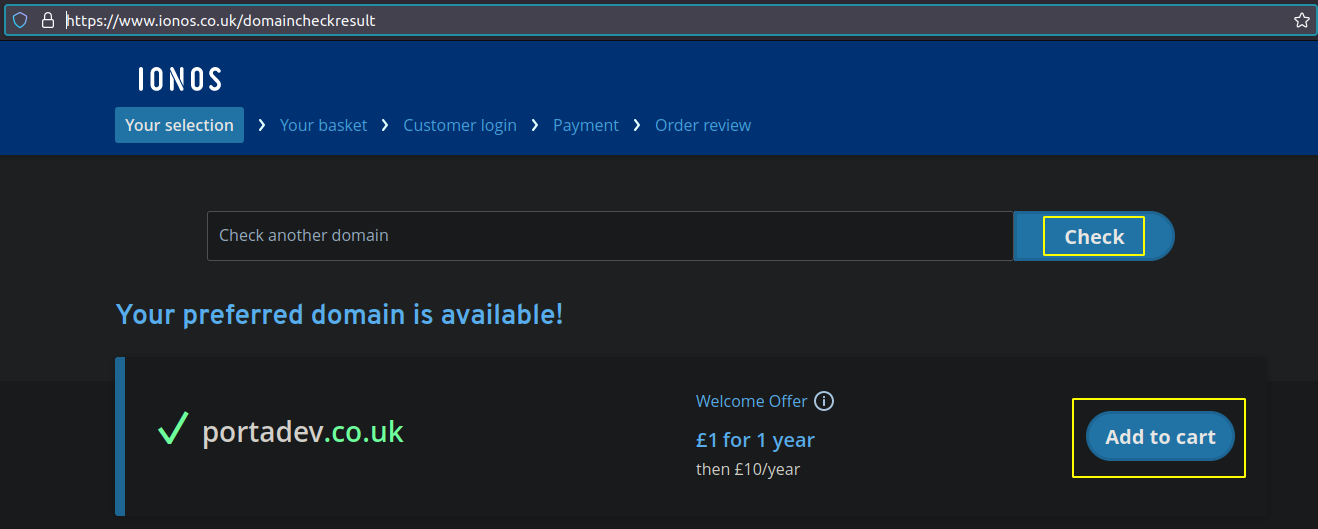
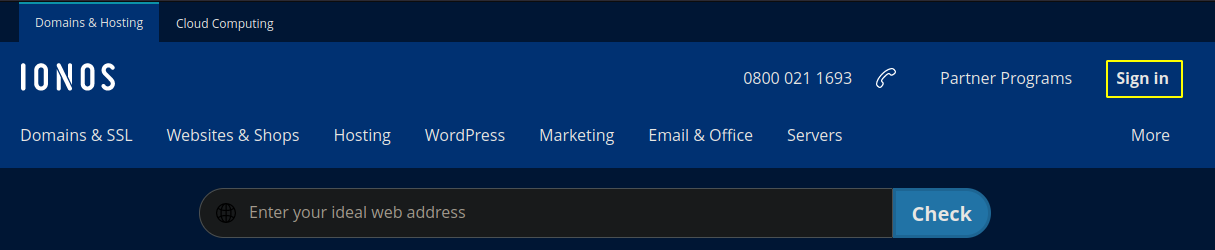
Enter the name of the domain you want and click check, then add to cart.
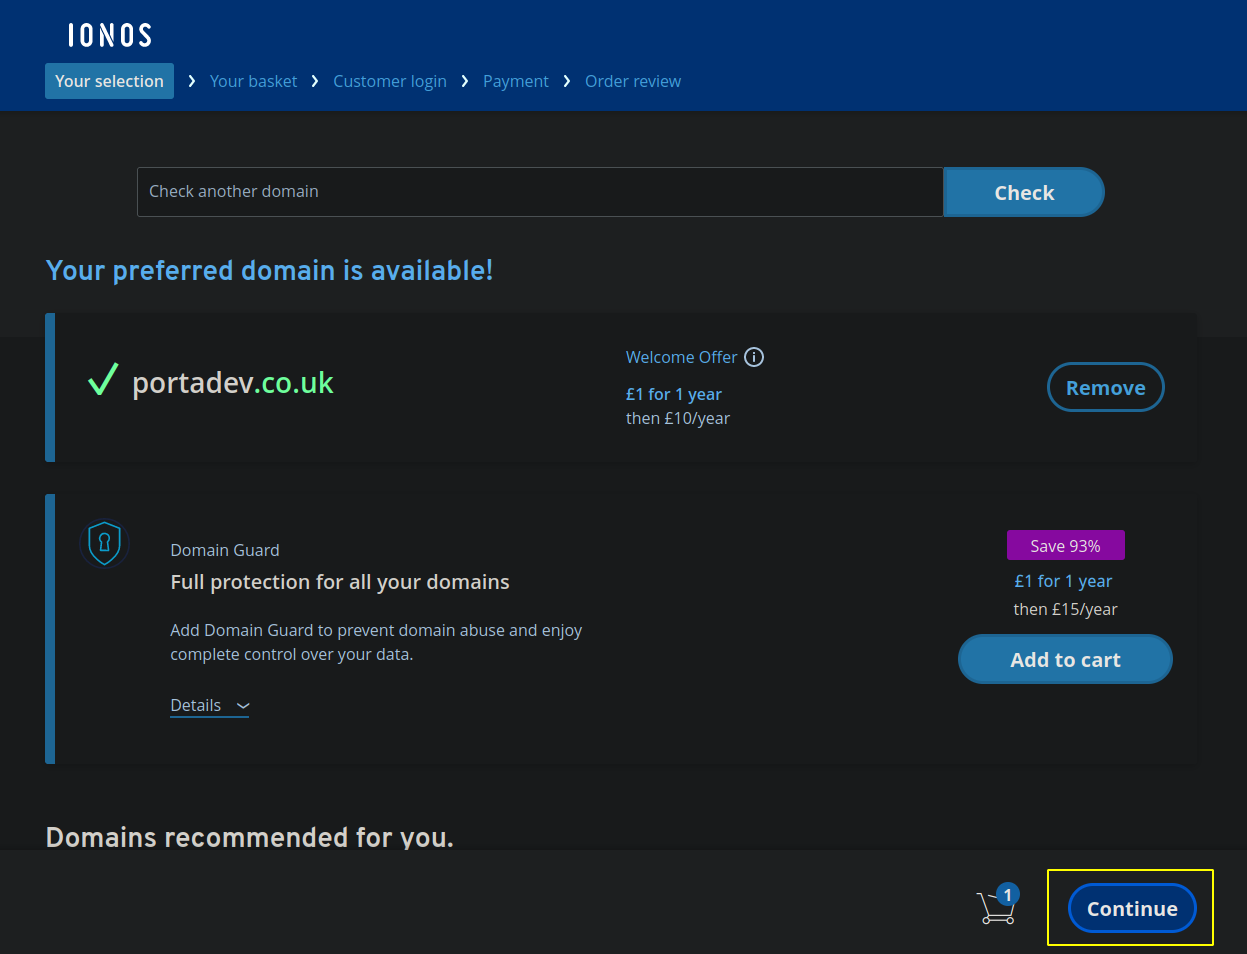
You do not need any additional items, so just click Continue
Select: Domain Only
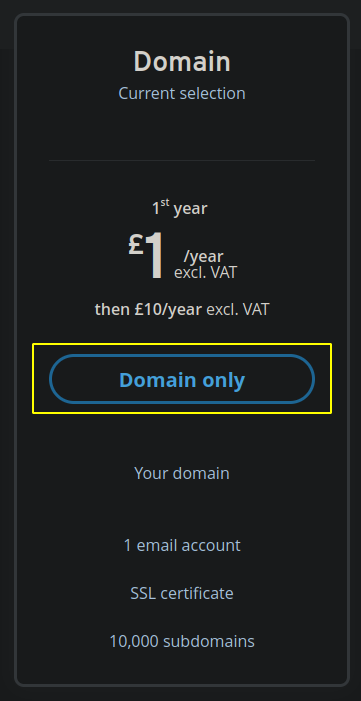
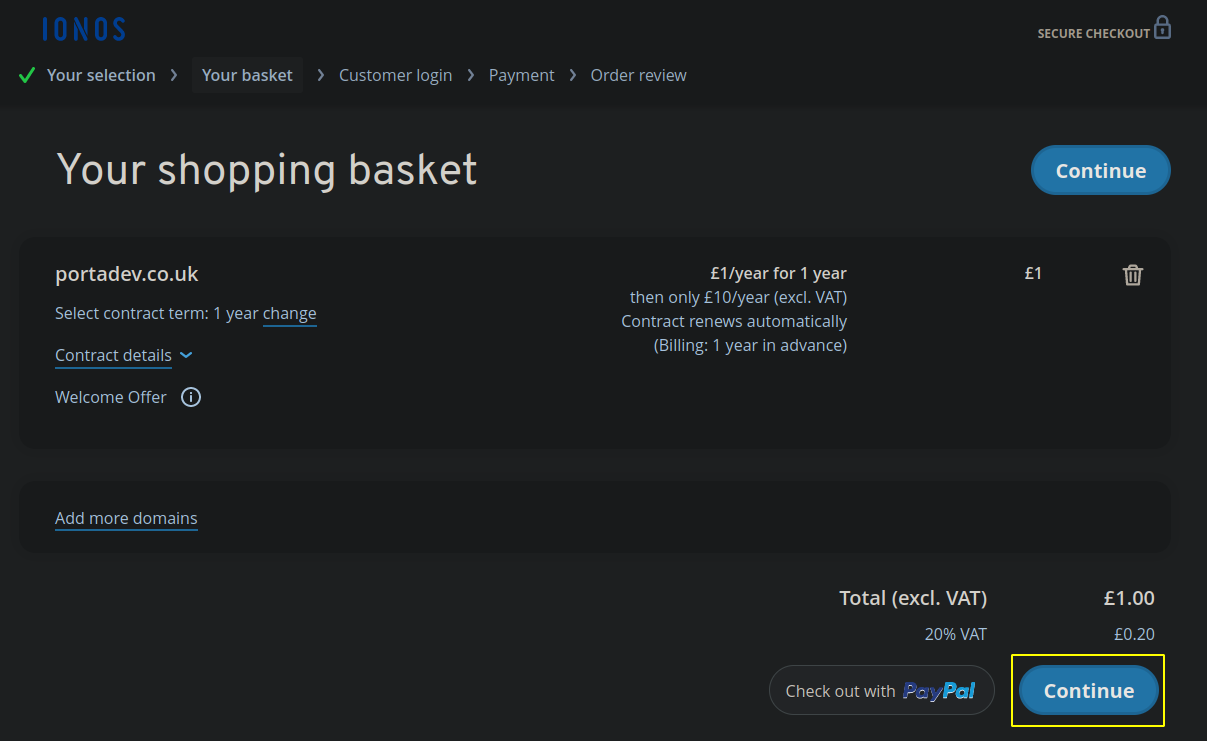
Select: Continue
Create a new account
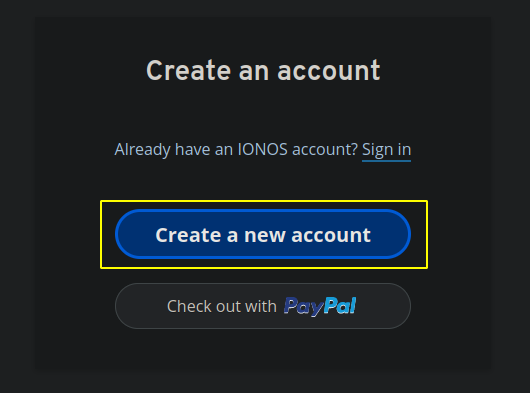
Fill in the details and pay for the domain.
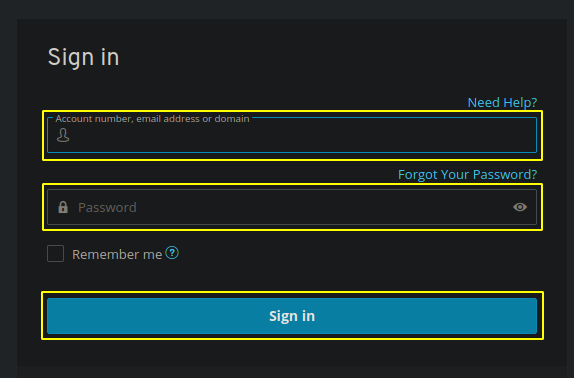
Login
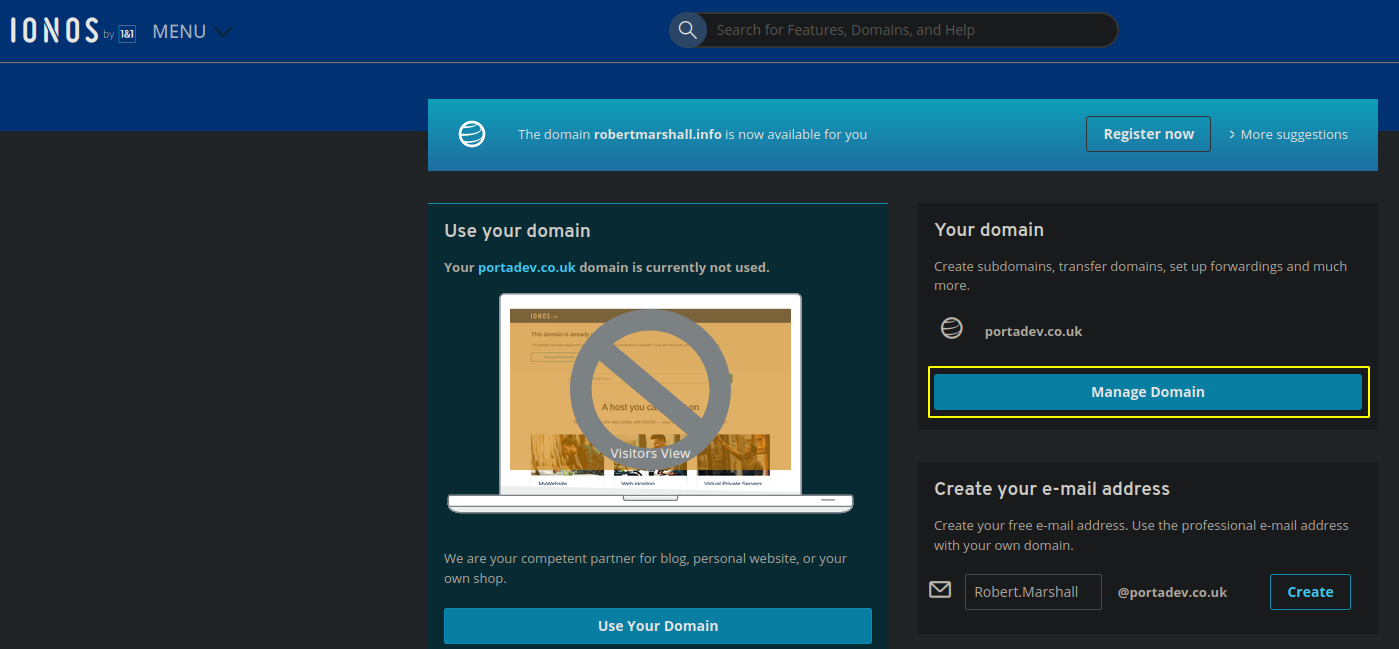
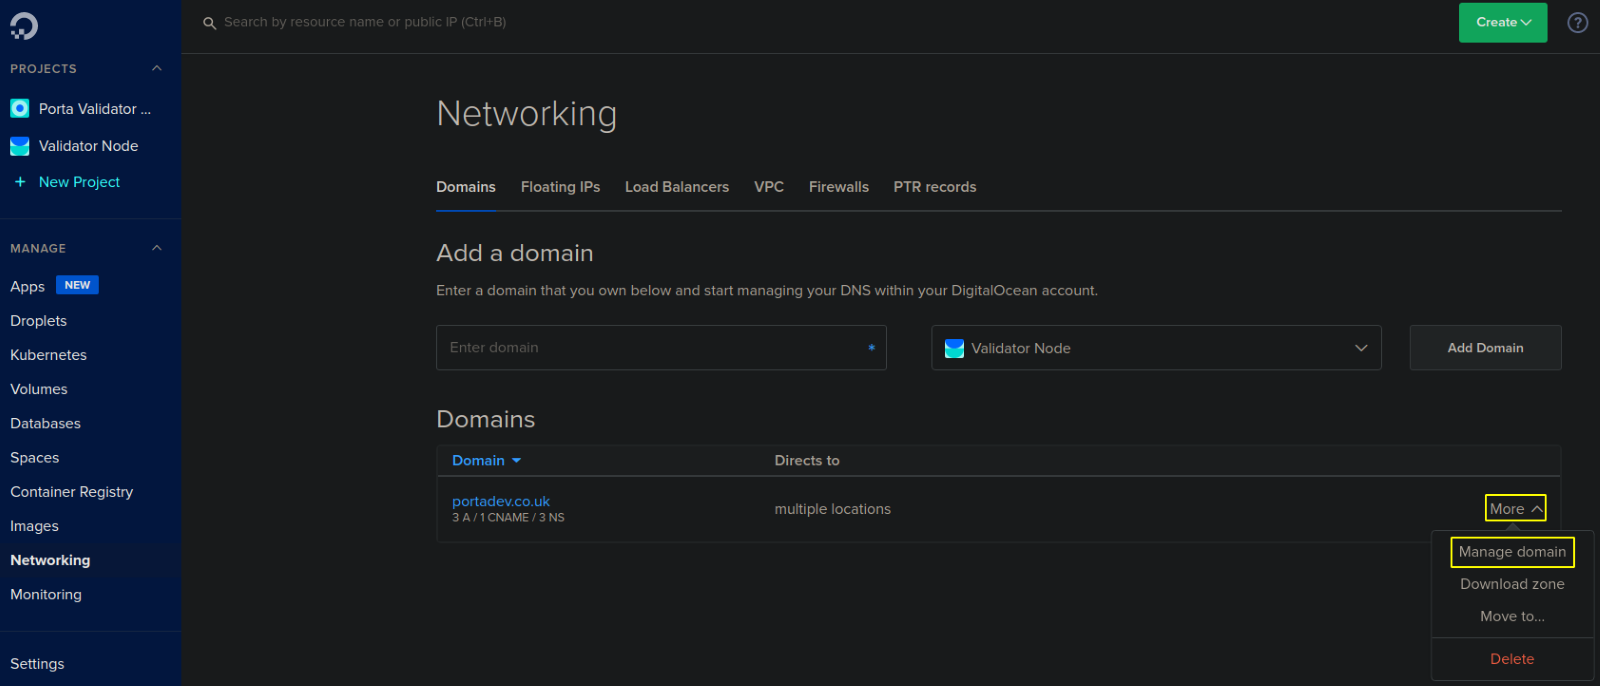
Go to Manage Domain
Select: Nameserver tab
Choose: Use custom name servers
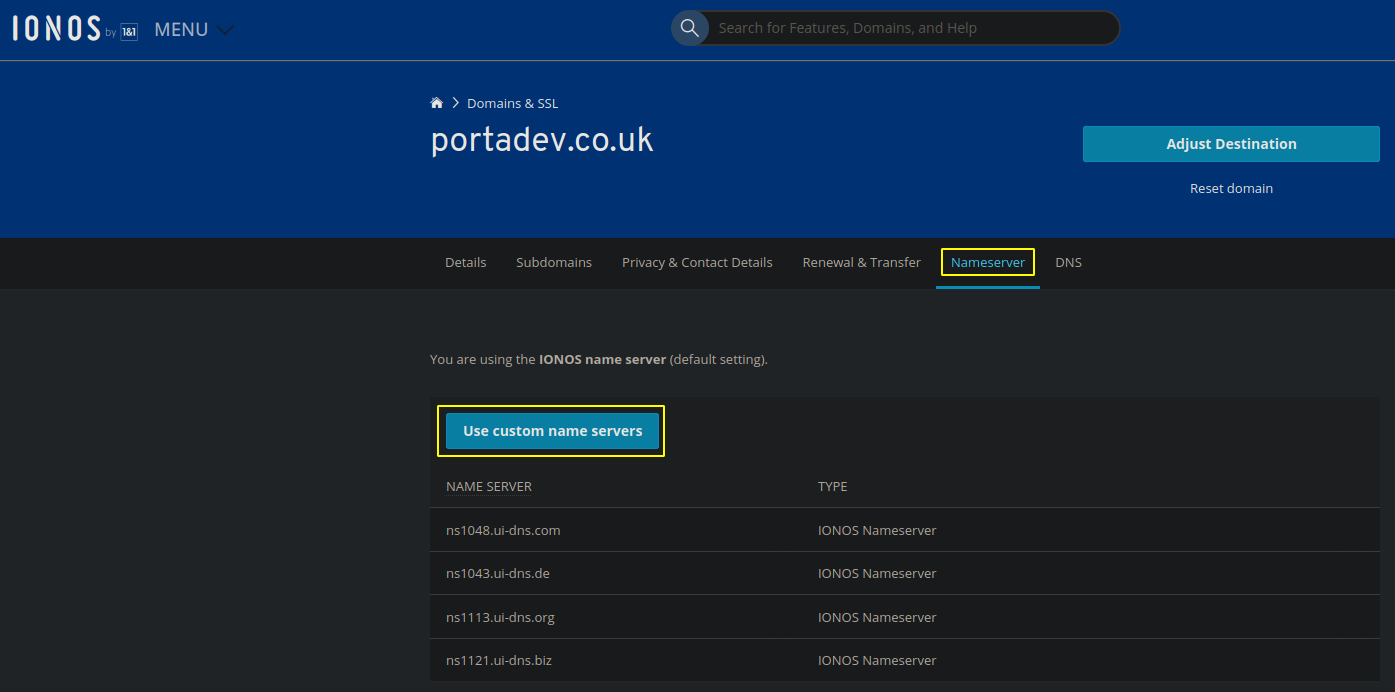
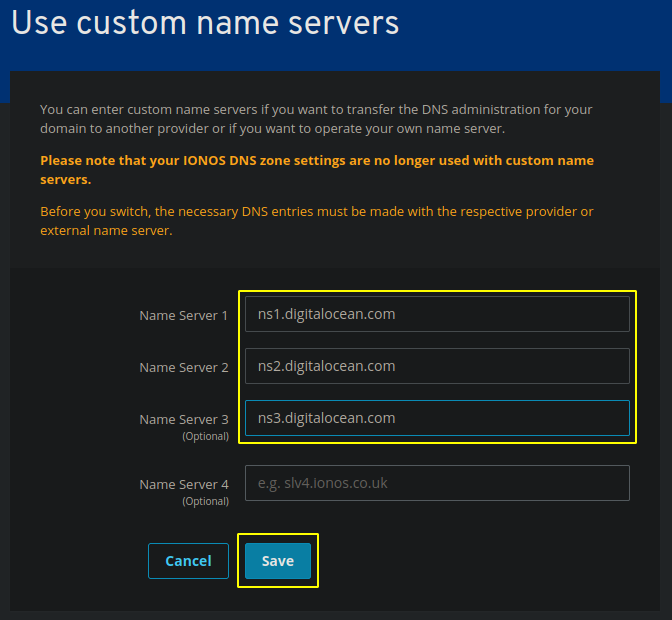
Enter these nameservers
- ns1.digitalocean.com
- ns2.digitalocean.com
- ns3.digitalocean.com
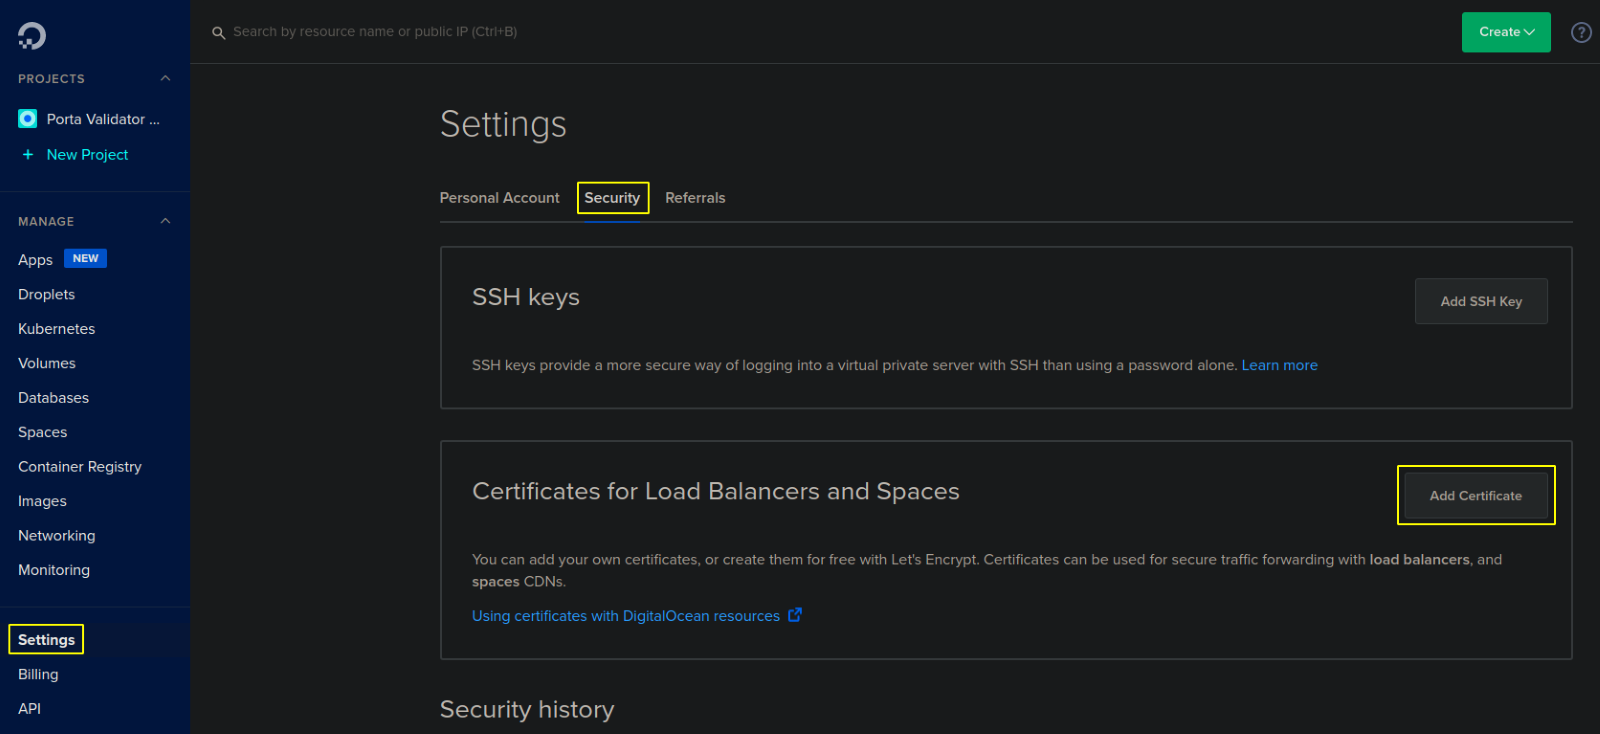
Once nameservers have transferred, you can go to Digital Ocean to add a security certificate.
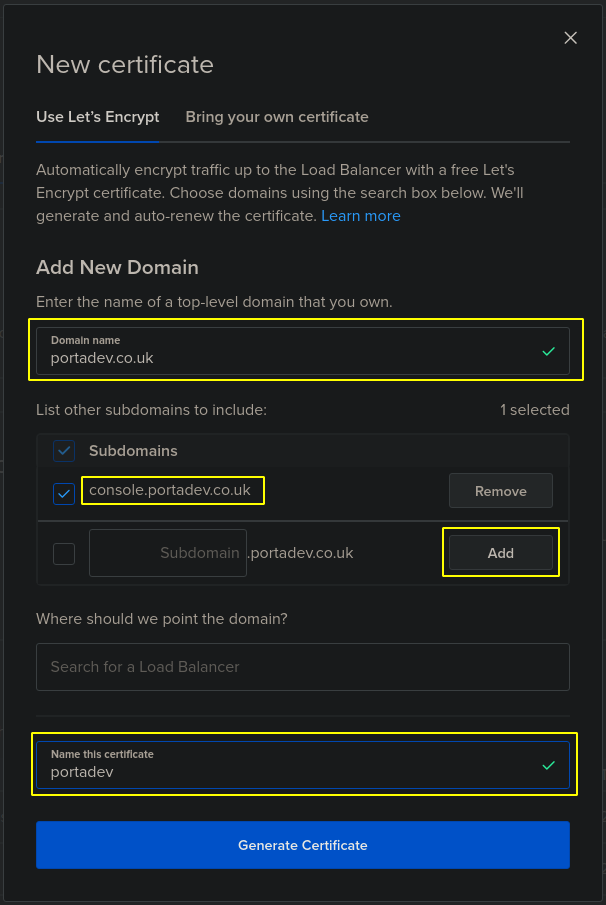
On Digital Ocean got to: Settings > Security > Add a certificate
Click in the search box and choose Add new domain
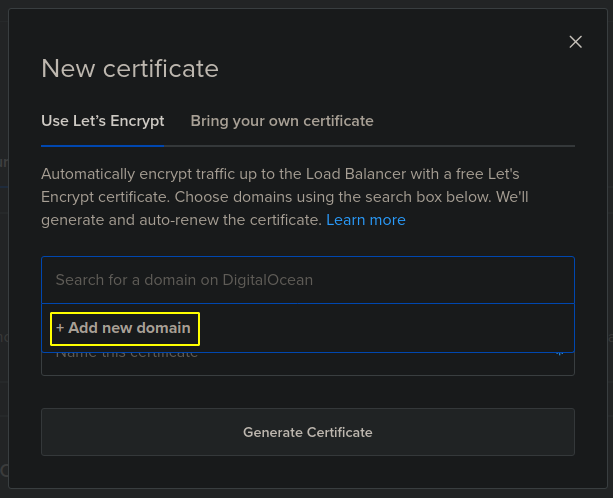
Continue

Select the domain you want to use, then optionally select any other subdomains to include, either existing or new. Enter a name for the certificate, then click Generate Certificate.
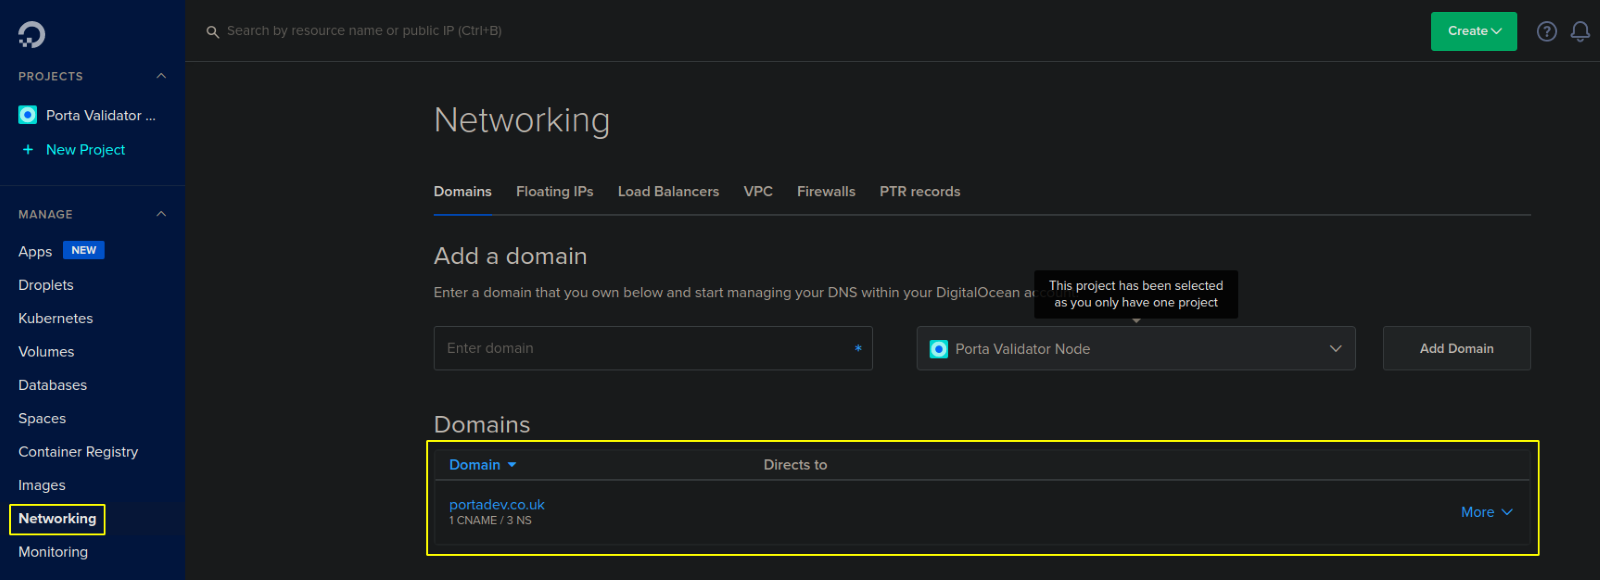
You will receive success messages. You can confirm your domain is in Digital Ocean.
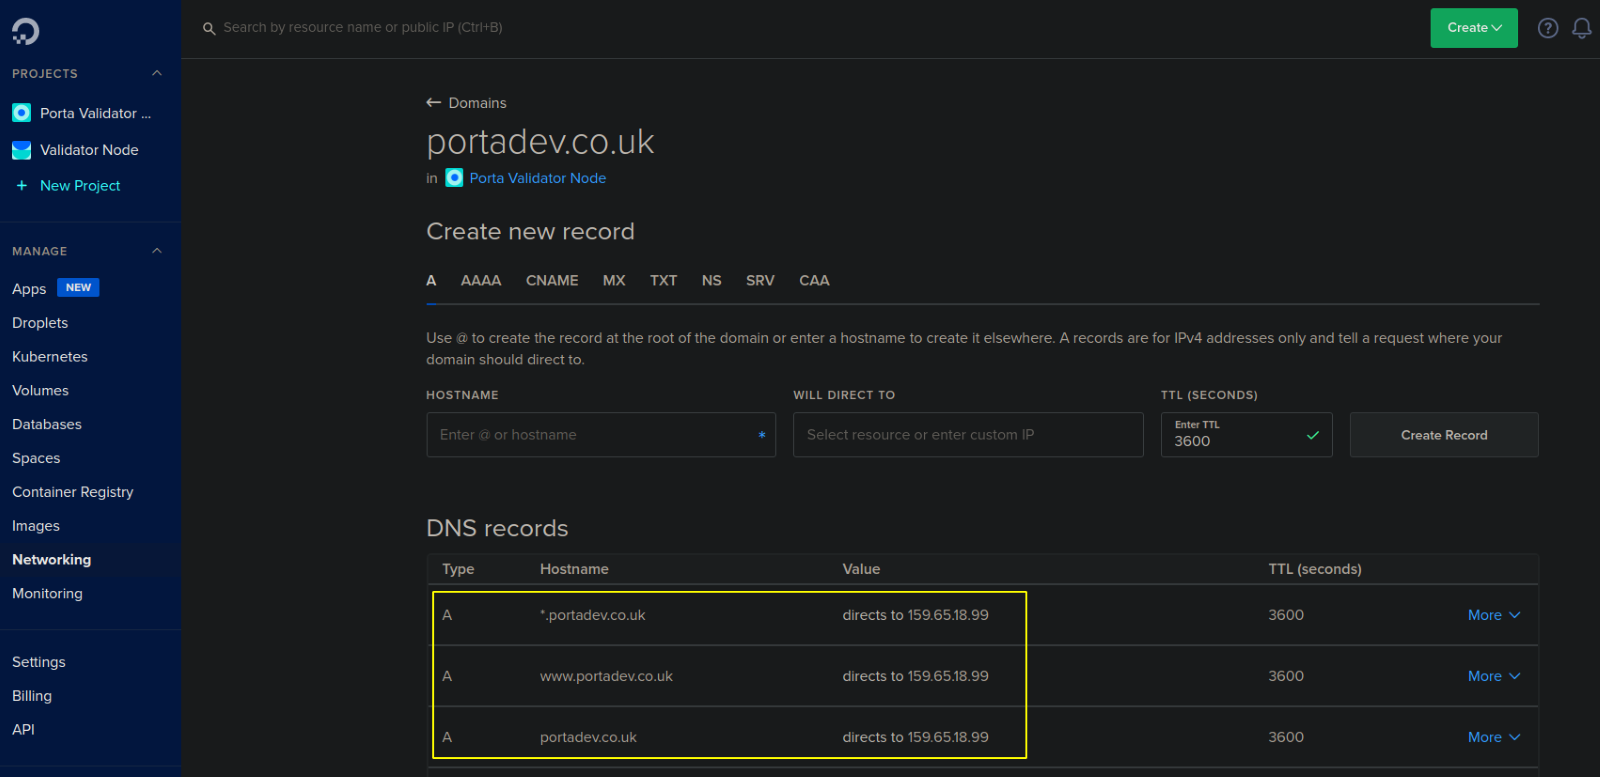
Create A records for the domain
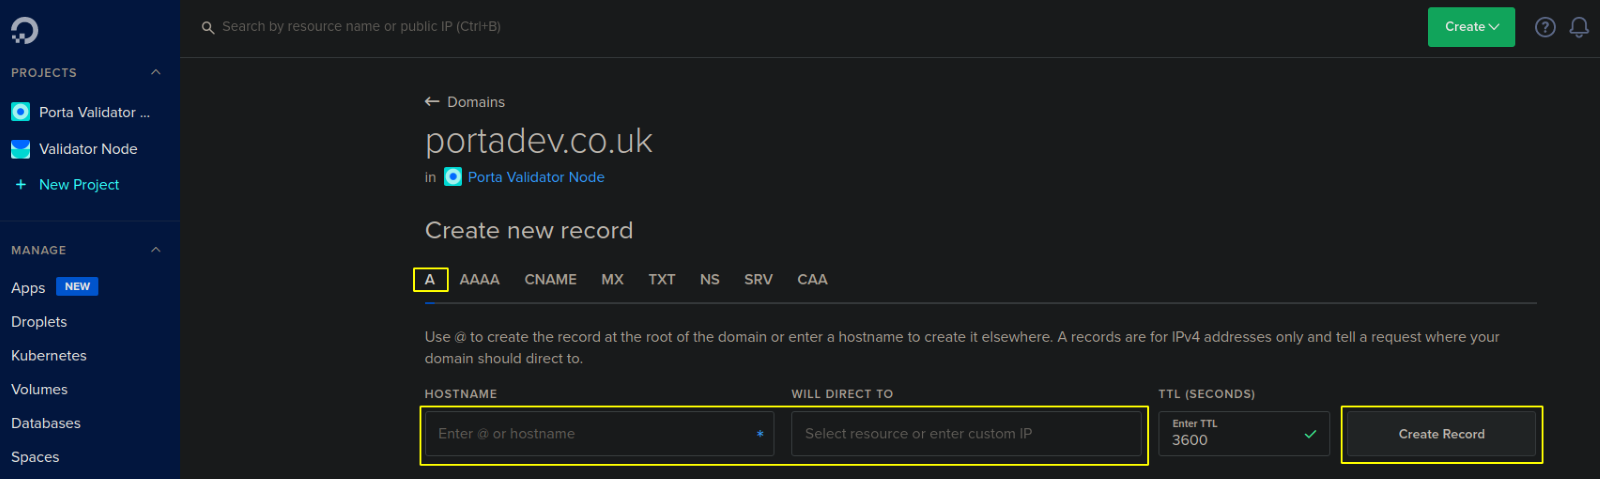
You want to create the following A records:
- 1.Hostname: @ Direct to: Validator-Node

2. Hostname: www.
Direct to: Validator-Node

3. Hostname: *
Direct to: Validator-Node

You will now have these entries
You are now ready to move to Part 3 of this tutorial series.
Last modified 1yr ago